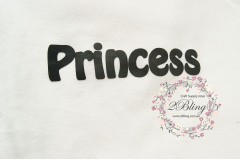
DIY SOLID Iron on applique for Birthday outfit
DIY SOLID Iron on applique for Birthday outfit
Materials
- Solid iron on transfer (Small to medium size).
- Fabric (Cotton)
- Iron
Instructions
1. Warm up your Iron and set to cotton setting (approximately 160oC). Iron the area of the shirt that you would like to place your design.
This step, while may seem insignificant is the complete opposite. The purpose of this step is to remove moisture in the shirt so that the applique will adhere to the shirt properly.

2. Once it is cool down, position the applique where you would like it to be.

3. Use the iron and go over the applique gently with a small amount of pressure. I typically run a few passes over it, 10 seconds.
If the temperature too high or contact time too long, the plastic & iron on will melt.
4. Allow it to cool for 5 - 10 seconds or longer if it is too hot to touch. Peeling the plastic layer gently. Carefully peeling off the plastic layer.
5. You can iron (inside out), to strengthen the iron on transfer.
Washing Instruction:
- The garment is required to be washed (inside out) at low temperature and dry in the shade.
- You can do handwash or washing machine (place the clothes in laundry bag, gentle cycle).
- Do not use clothes dryer .
- Do not iron the transfer area.


